3D LASER SCANNING
INCREDIBLE DETAIL
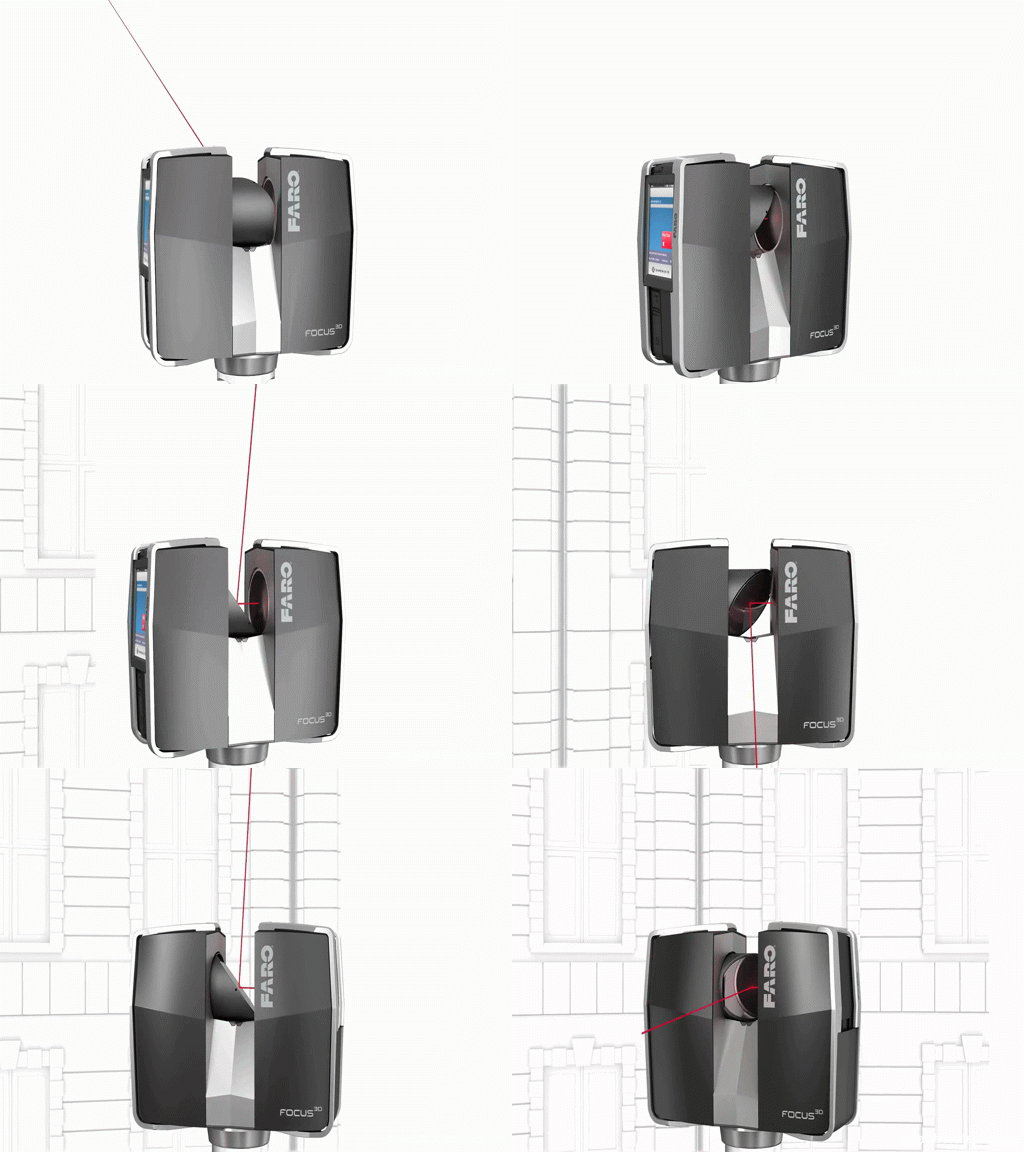
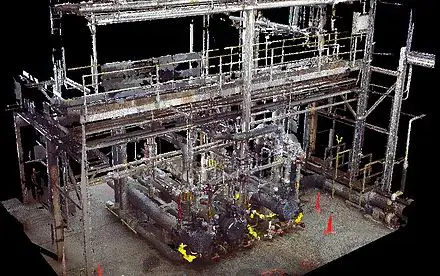
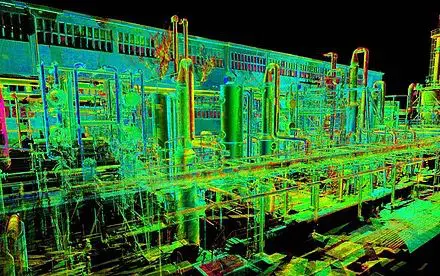
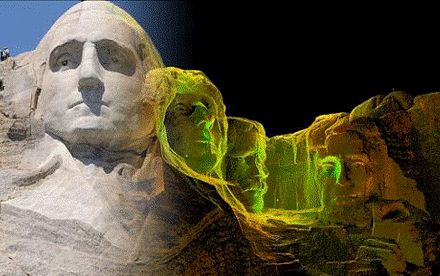
3D Laser Scanners use laser pulses to collect real world coordinate points to define or locate any objects visible to the scanner. In only a few minutes, the 3D laser scanner produces a dense point cloud containing millions of points that provide incredibly detailed 3D color images of large scale geometries.
AN EXACT MEASURABLE REPRESENTATION
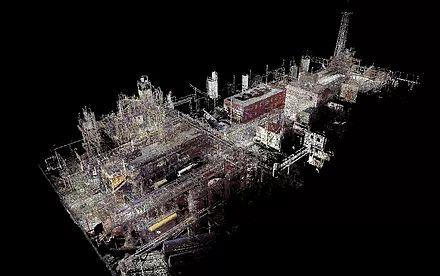
Multiple scans from different positions can then be combined or registered together to create a cohesive point cloud, resembling an exact, measurable copy of even the most complex or large systems, buildings and structures.
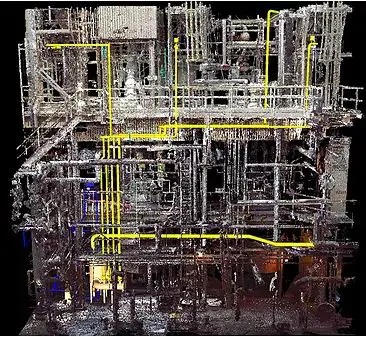
The picture to the right shows a project consisting of over 60 scans tied together (registered) to form a single, large point cloud data set that was used to ensure that no new piping interfered with existing conditions.
ACCURACY WITH EACH POINT
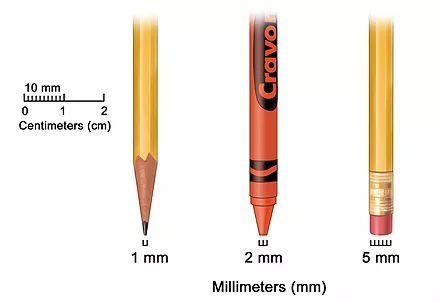
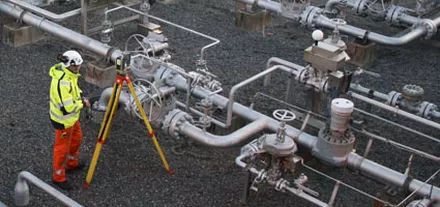
Manual field measurements as well as measurements from a precision instrument, such as the 3D laser scanner, are only good if they’re accurate. You could give three people a tape measure, have them measure a building or structure, and get three different results. The laser scanner removes the ambiguity associated with manual measurements. The 3D laser scanner has a range of up to 390′ with accuracy at that distance of +/- 2mm. That’s approximately the width of the tip of a new crayon.
A HOST OF ADVANTAGES
Collecting data with our 3D laser scanner offers a host of advantages over standard hand measurements:
- Increased speed of data collection
- Exponential increase in accuracy
- Ability to measure overhead objects without the use of scaffolding or man-lifts
- Extremely dense data sets (point clouds)
- Safe, non-contact data capture at a distance
- Photo-realistic 3D data (measurable photograph) that you can repeatedly utilize without multiple, costly trips to the jobsite.
1,000,000 POINTS PER SECOND
The 3D laser scanner can collect almost 1,000,000 points per second. Considering an average scan time of 3 minutes , about 20 scans for a 2 to 3-level structure, this would yield approximately 3.6 billion measurable points in approximately one day. All with one scanner and a two person crew.
PROVEN SUCCESS
We’ve proven time and time again that using 3D laser scanning will not only drastically reduce your field time but also eliminate the need for repeat visits to verify items that were missed.
ASSESSING INDIVIDUAL PROJECT NEEDS
Our 3D laser scanning team will determine the optimum number of scans for your project needs. Scan times can vary widely depending on square footage, overall length of project, and density of equipment, piping and structure in scanned area. The typical scanning project of 2-3 days will be far below the cost of sending your team to the jobsite multiple times to measure tie-in locations and existing piping and structural conditions.
SUPPORTING YOUR PROJECT
We perform 3D laser scanning not only to support our own internal detail design projects but as a tool to support other engineering firm’s projects. For a relatively low cost we’ll meet you at your customer’s jobsite, perform the 3D laser scan and turn the resulting files over to you to do the detail engineering in your company’s design software. We will work with you to determine the best point cloud deliverable for your design software requirements.
